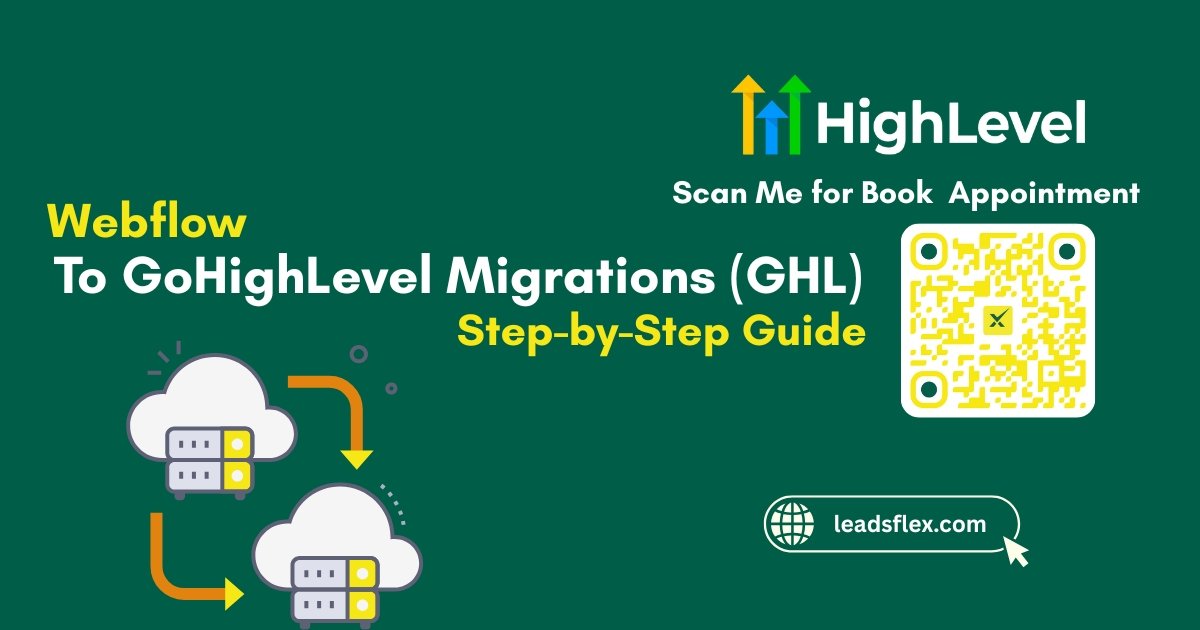
Webflow to GoHighLevel Migrations: A Simple 9-Steps Guide
What if your website could do more than just looks good? Webflow is great for building beautiful sites with creative layouts and smooth animations. But when it comes to growing your business, looks are not everything. You need a system that captures leads, nurtures them automatically, and keeps all your marketing tools in one place.
That’s where GoHighLevel steps in. It is built not just to showcase your brand, but to actually drive sales, manage customers, and automate the work behind the scenes. In this guide, I will explain how to migrate your Webflow site into GoHighLevel with 9 simple steps with tips and tricks. Let’s get started.
Plan Your Move
The first step is to plan what you want to migrate and what is not important to move.
Read this: Move Your Website From Wix to GoHighLevel (GHL): A Step-by-Step Guide
Buy GoHighLevel (Preferably via LeadsFlex)
Before you start moving things, you need to have access to GoHighLevel. A smooth way to do that is through LeadsFlex. Here is why:
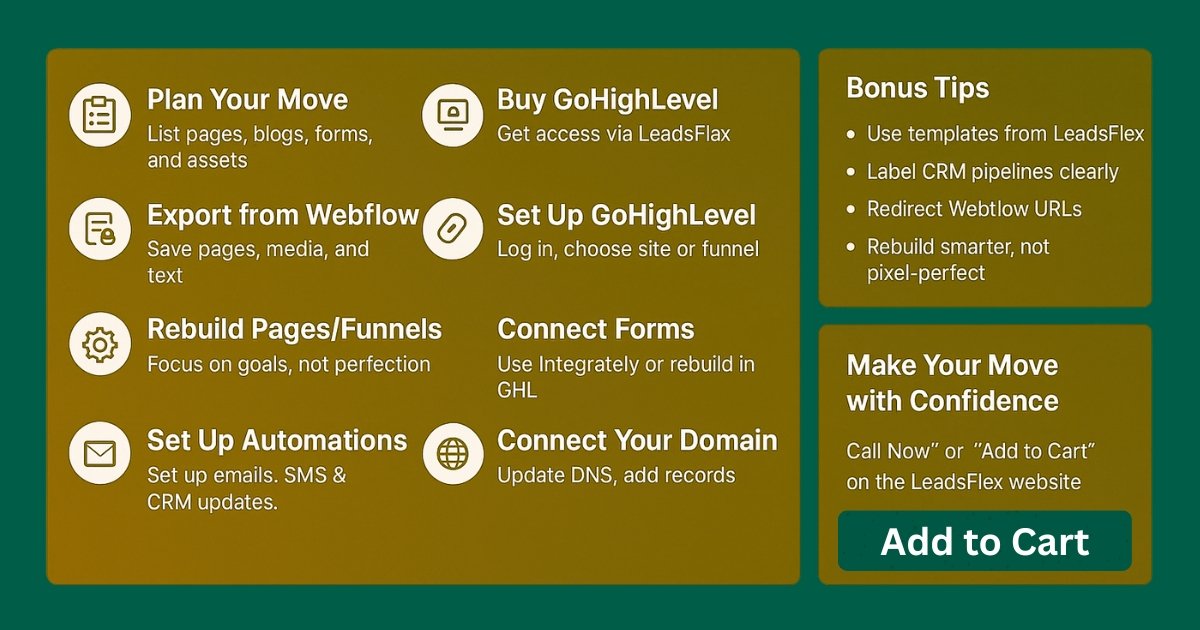
LeadsFlex not only gives you a GoHighLevel account, you can also get ready-made funnel templates and marketing systems that fit right into your new platform. That saves you hours of setup, with designs made to convert ready from day one. And if you ever need something extra like a custom template, site tweaks, or help with a glitch, here is another option: the FunnelFlex team (part of LeadsFlex) is there to help.
They offer consulting, design, and support so your site performs at its best.
Export Your Site From Webflow
Webflow does not offer a one-click import into GoHighLevel. So you need to export your content and rebuild manually.
Set Up GoHighLevel
Now you are ready for GoHighLevel.
Rebuild Your Pages or Funnels
Since you can not import Webflow designs directly, it’s rebuild time.
Websites:
Use the GoHighLevel page editor to recreate your pages.
Copy text, layouts, and insert images.
No need to replicate everything. Focus on what works for your current goals.
Funnels:
Build step-by-step funnels like landing pages, opt-in forms, thank-you pages, follow-ups, and so on.
Blog or dynamic content:
You need to manually add posts or use HighLevel’s features for updates.
Connect Webflow Forms or Recreate with GHL
If you want to keep your Webflow form design:
Set Up Automations and CRM
This is where the power of GoHighLevel really shows up.
Connect Your Domain
To make your new site live:
Test Everything Before Launch
Before switching over fully, make sure everything works.
Read this: Migrating from Squarespace to GoHighLevel: The Complete Step-by-Step Guide
Bonus Tips
Make Your Move with Confidence
Switching from Webflow to GoHighLevel might be stressful but it is really about moving content, rebuilding it where needed, and adding powerful automations behind it. Step by step, it becomes simple.
And if you want to get started faster, do not forget LeadsFlex, they help you buy GoHighLevel, give you plug-and-play funnel templates, and offer help with design or consulting when you need it. It’s an easier way to live fast and grow smarter.
Need help rebuilding a page layout, connecting automations, or crafting a funnel? Simply click “Call Now” or “Add to Cart” on the LeadsFlex website to connect with their team and grab your plan today.